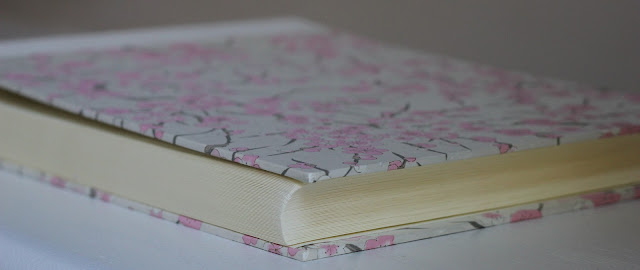
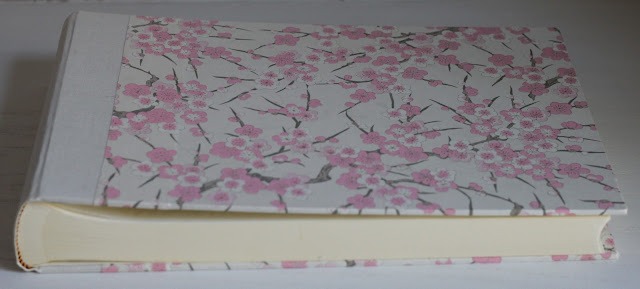
Another new project I tried recently was a gift for my sister-in-law for Christmas. She asked for a scrapbook for her new baby and since my favorite store Paper Source has bookbinding supplies, I thought I'd try my hand at it. Once I had purchased all my materials, I started researching tutorials online. I found two that were extremely helpful - How to Make Books - Paper Source and Binding with Photo Album Insert - The Paper Studio.
At first, I was pretty intimidated by the whole process. It seemed a little complicated and out of my league. I'm a bit of a perfectionist and I tend to choose techniques that are simple, straightforward and familiar. This was none of those things to me, but with my husband's encouragement, I went for it. I was primarily concerned because the materials I purchased for my sister-in-law's scrapbook were not cheap and it was going to be my first attempt. It was a gift and I didn't want to screw it up. But I jumped in feet first and after watching the demos many, many times I got to work.
There are many ways to bind a book, but we chose to purchase an extra large, photo album text block that comes with two already cut to size book boards. We chose a pink and cream, cherry blossom Japanese paper and cream colored book cloth. Once I figured out all of the measurements to cut the paper and book cloth, the hardest part about this process is the gluing. You have to get it on fast before it dries, but also not too thick and I had large surface areas to cover. It was a little stressful, but I think the end product was worth the effort.
My first go at this went so well, I am thoroughly confident that I can bind all sorts of custom books and albums. Next on my list are small journals/scrapbooks for me and my husband. Can't wait to share!
Photos by Kyle @ 918 Photo
Coming Soon: Paper Punch Collage


No comments:
Post a Comment